Getting Started
Bring up the whole stack — backend, both frontends and a selected set of plugins with demo data — from a single install script.
Prerequisites
You need git, docker and docker compose. Node is only needed if you run a frontend dev server natively instead of via Docker.
One-command install
The CE recipe clones the backend + the three frontends, builds the shared component library in the right order, seeds the plugin manifests, starts the containers, runs migrations, creates the admin user and populates demo data:
# Full curated plugin set (default)
./recipes/dev-install-ce.sh

# Only the plugins you name (dependencies resolved automatically)
./recipes/dev-install-ce.sh --plugins-list cms shop tarot

# A custom domain / SSL / admin credentials
./recipes/dev-install-ce.sh --domain myapp.com --ssl \
    --admin-email me@x.io --admin-password 'S3cret!'
Every installed plugin is enabled, gets its demo settings + demo data, and any bundled assets (prompts, templates) are seeded into the shared var/ directory.
Day-to-day backend commands
make up                # start API + PostgreSQL + Redis
make up-build          # start with a rebuild
make down              # stop
make test              # unit tests
make test-integration  # integration tests (real PostgreSQL)
make lint              # black + flake8 + mypy
make shell             # bash inside the API container
Where things run
| Service | URL |
|---|---|
| Backend API | http://localhost:5000 |
| User app | http://localhost:8080 |
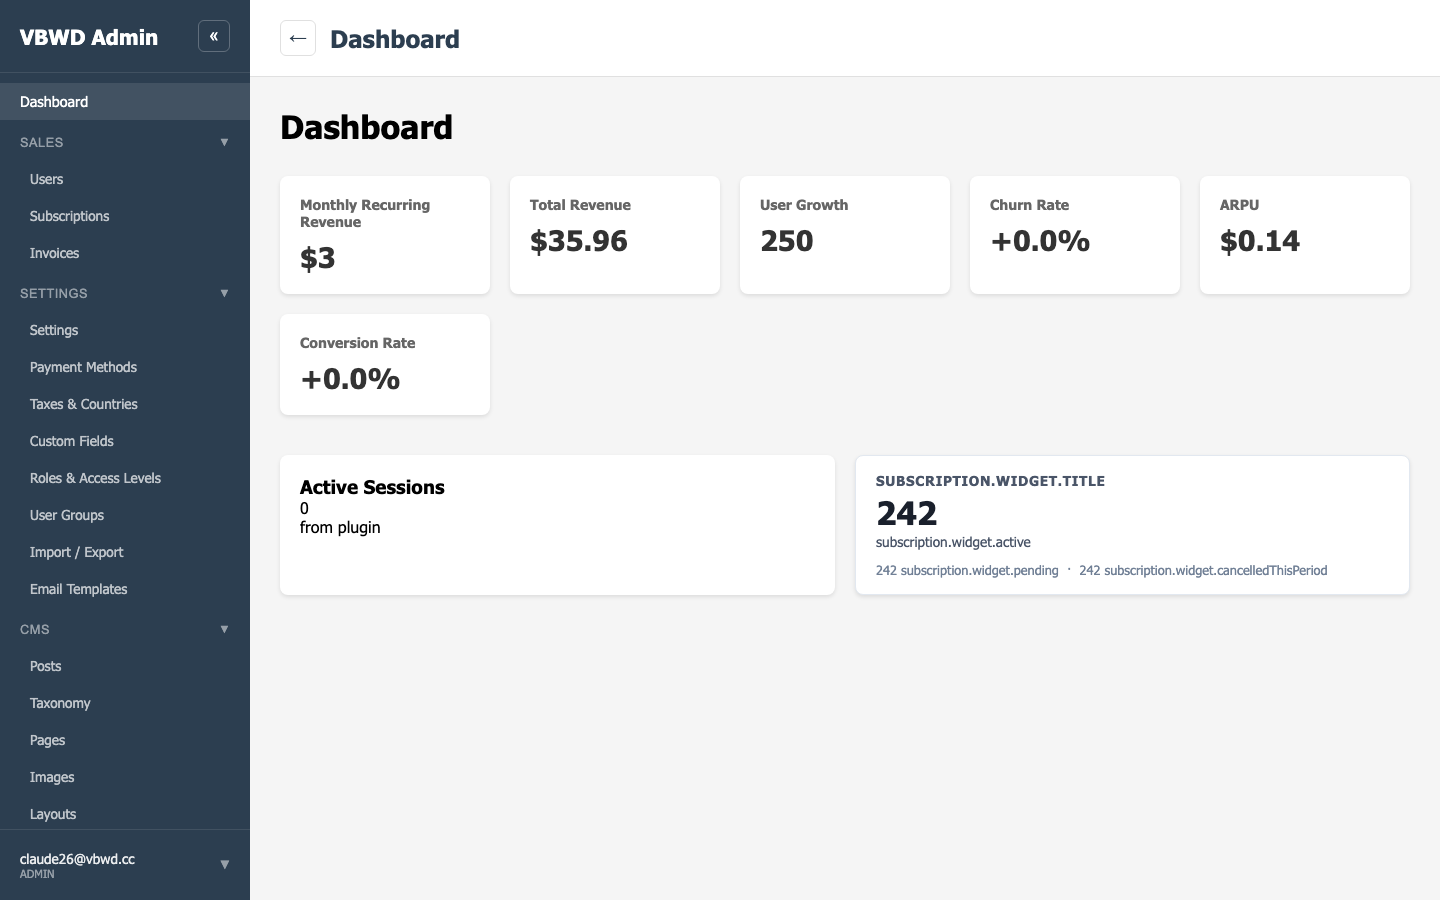
| Admin app | http://localhost:8081 |
| PostgreSQL | postgresql://vbwd:vbwd@localhost:5432/vbwd |
Dev admin login is
admin@example.com / AdminPass123@ (local development only — rotate before exposing the stack).